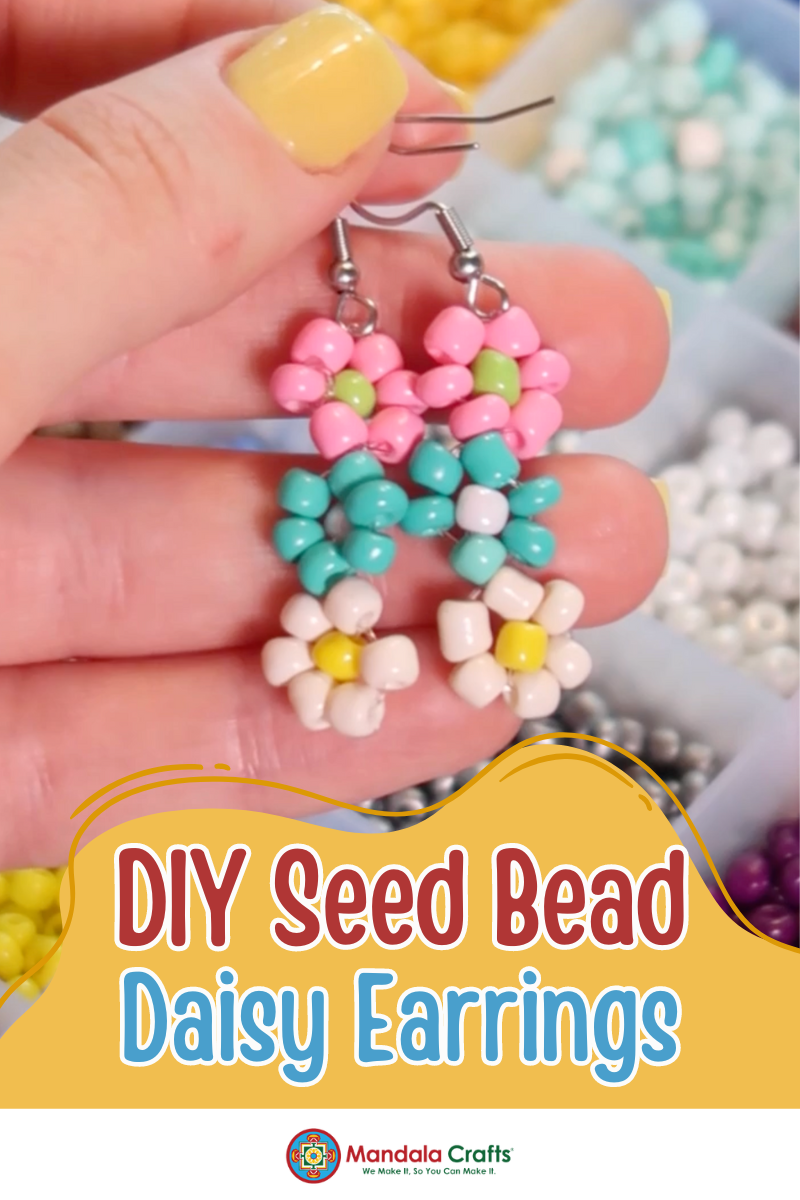
Looking for a fun and stylish DIY project? These daisy earrings made from seed beads and crystal string are the perfect accessory to brighten up any outfit. Whether you’re an experienced crafter or just starting out, this project is both simple and rewarding. Let’s walk through how to create your very own pair of daisy earrings!
What You’ll Need:
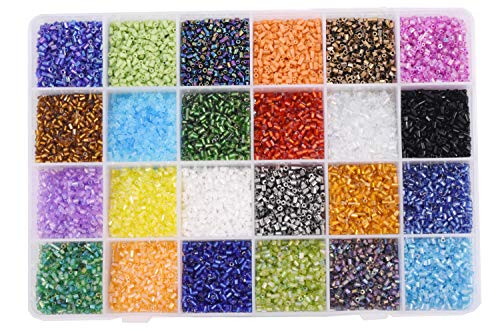
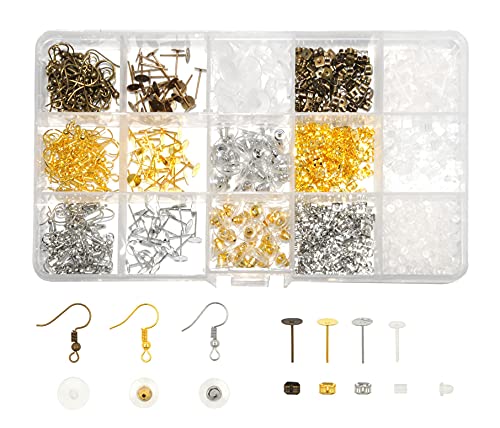
- Seed beads (white for petals, yellow for the center, and green for the leaves)
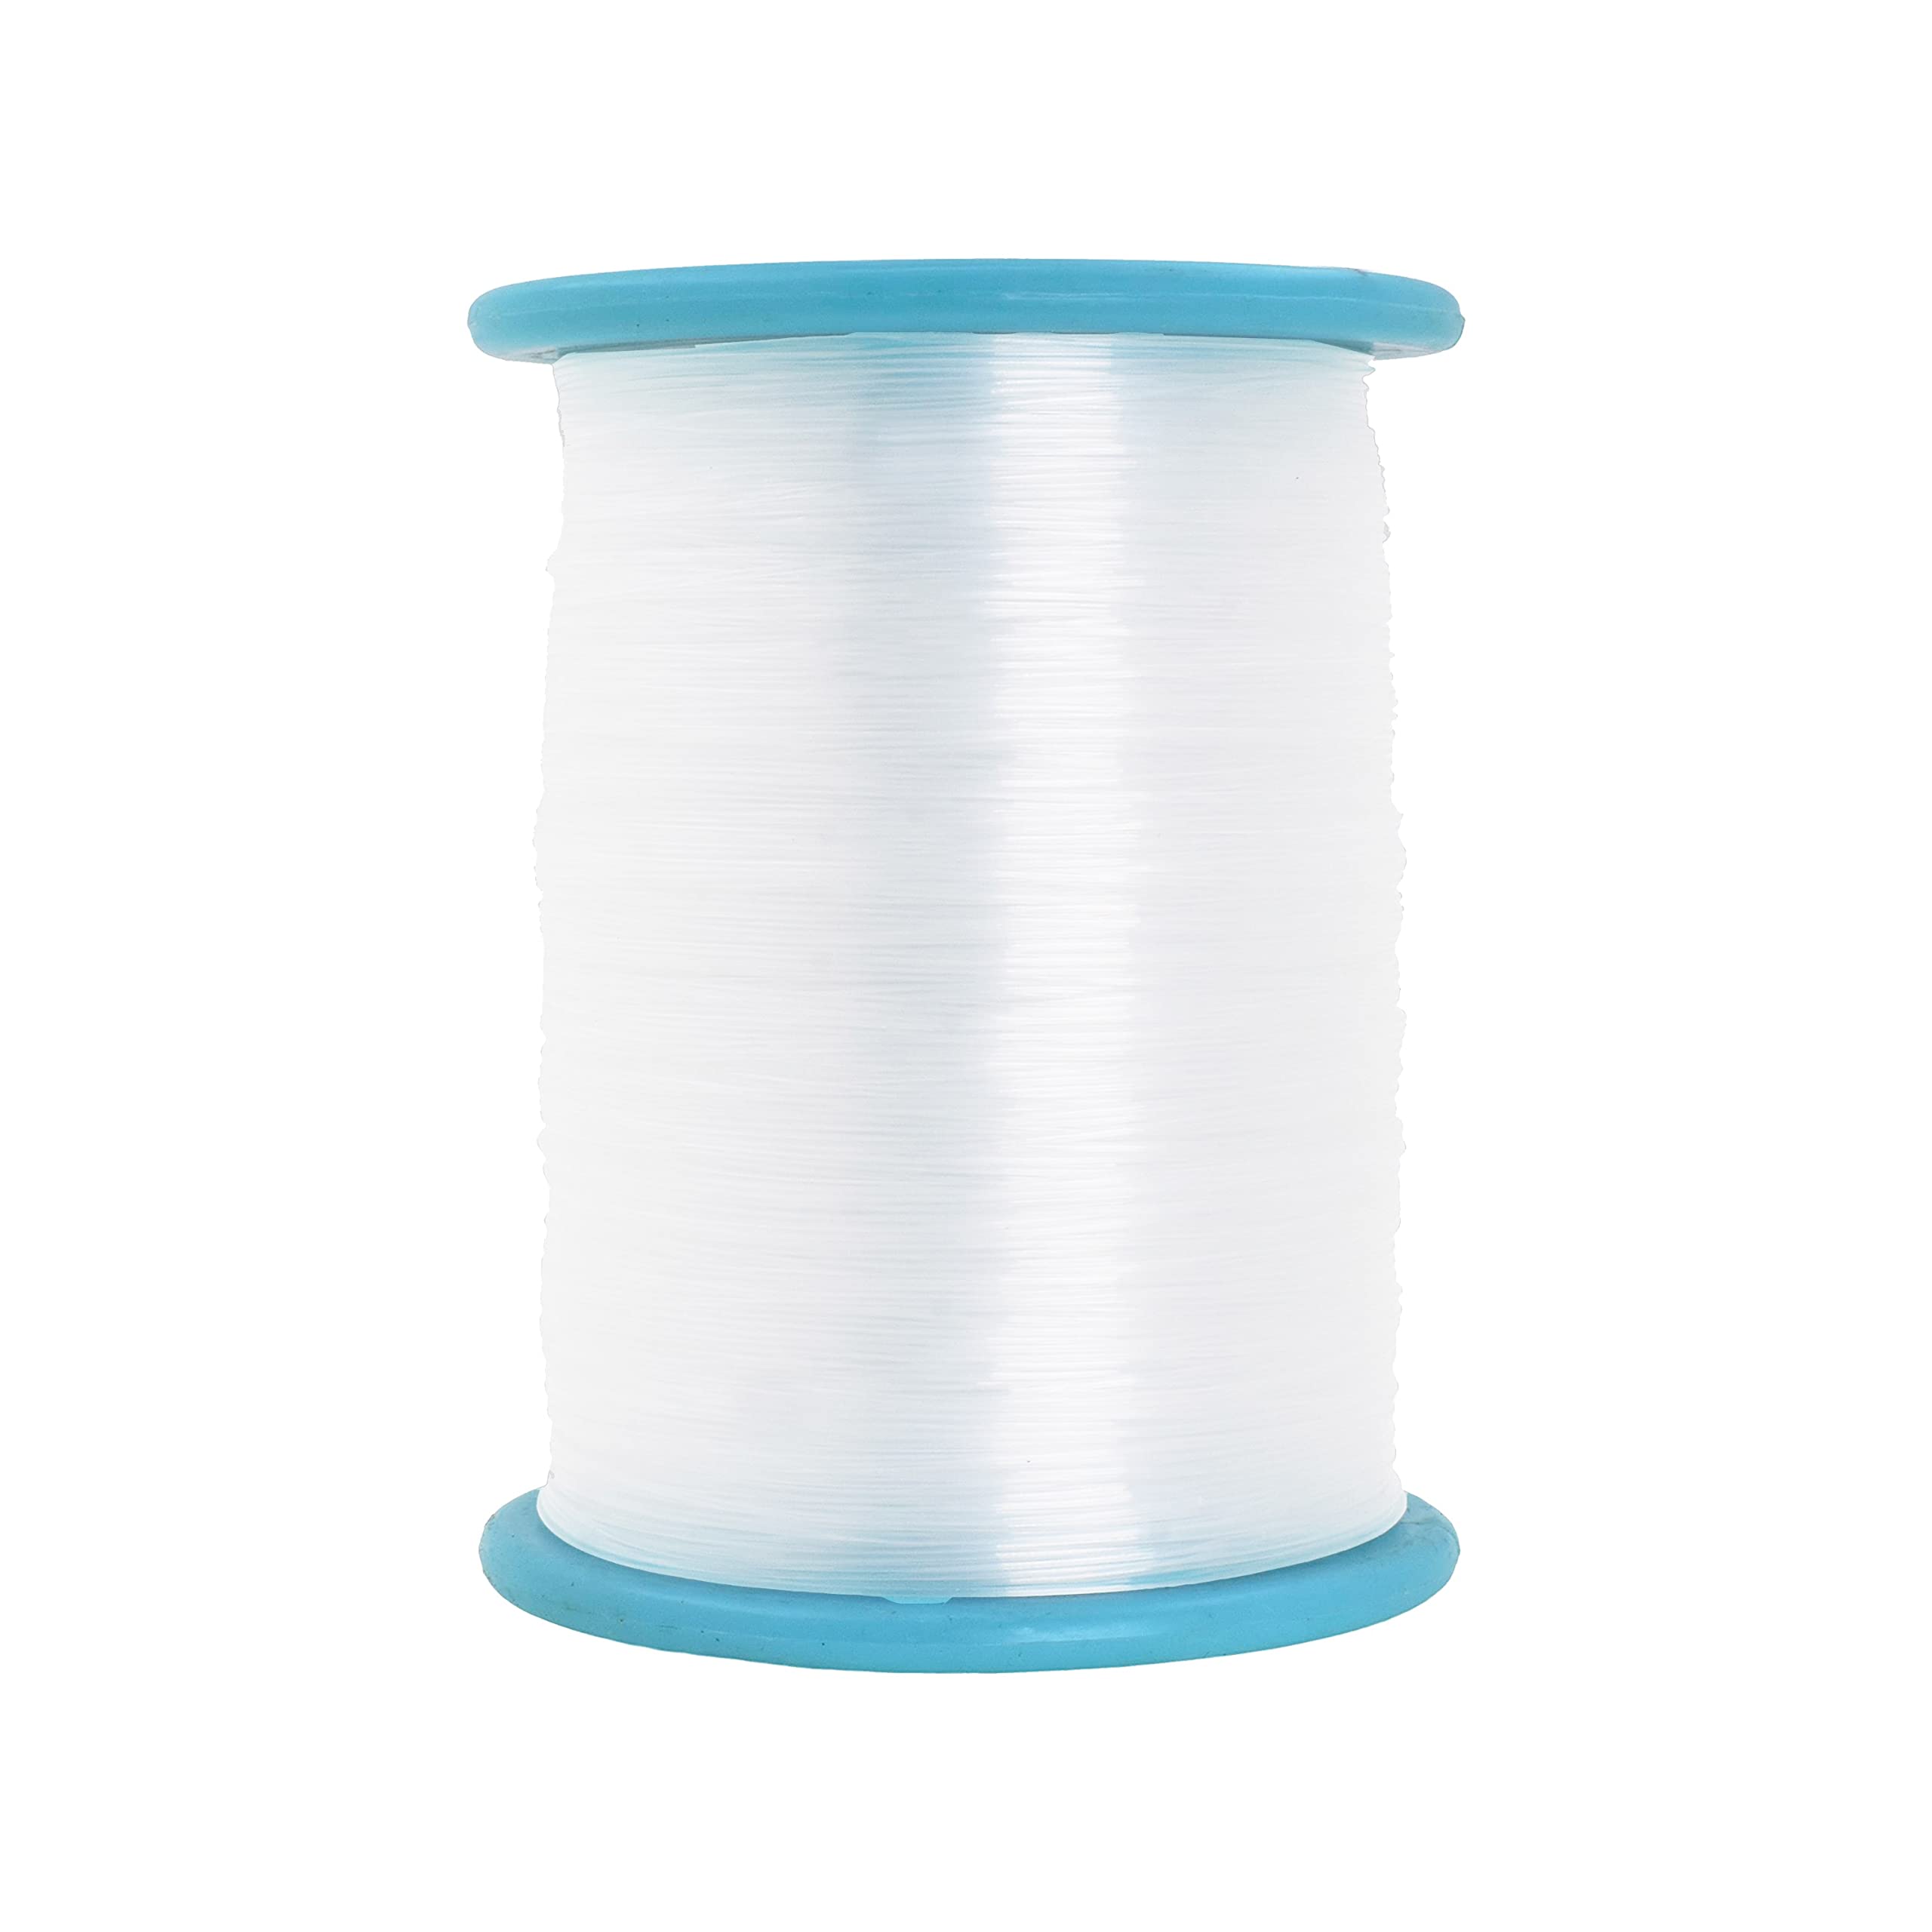
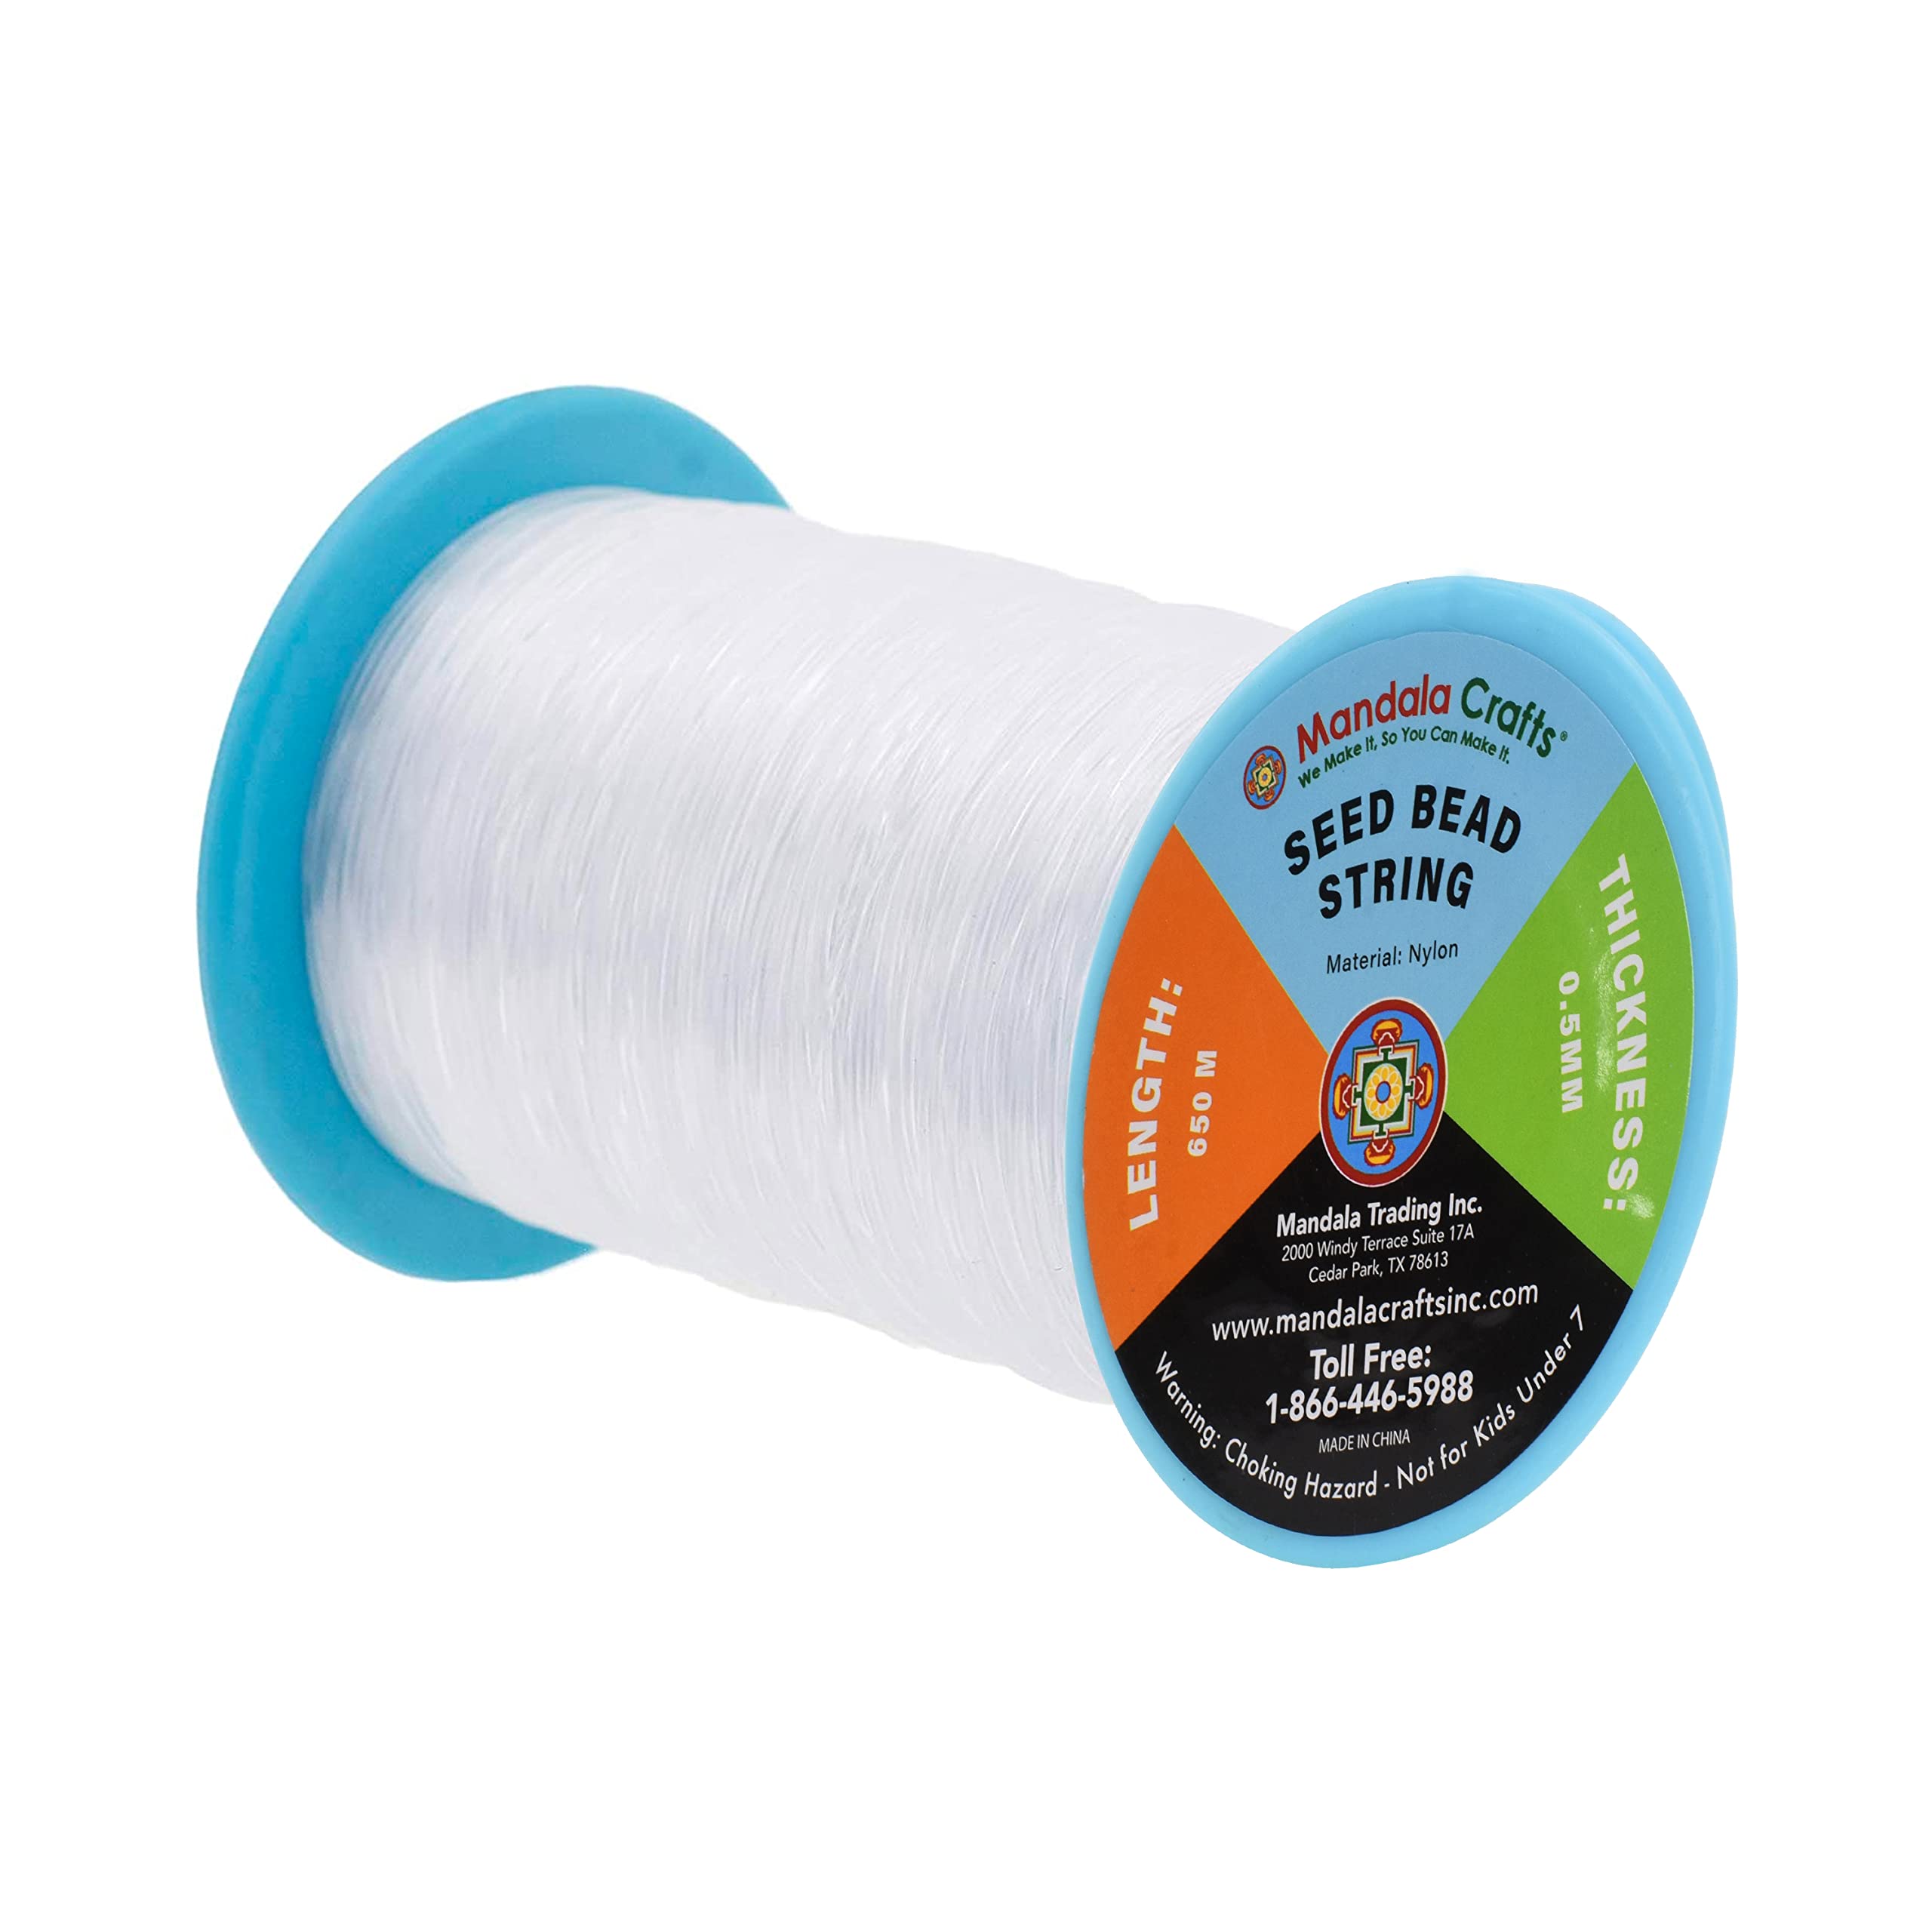
- Crystal string (clear or white)
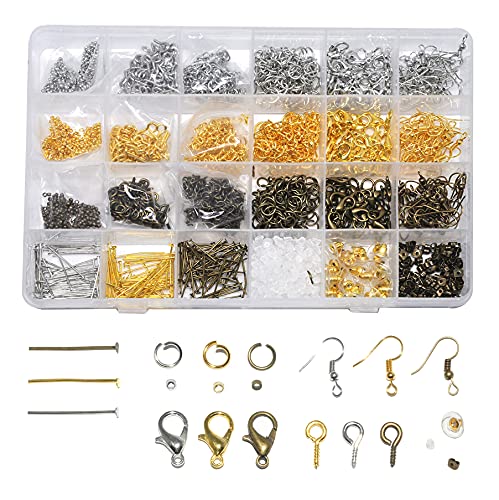
- Earring hooks
- Scissors
- Needle (thin enough to pass through seed beads)
- Jewelry pliers (optional, for attaching earring hooks)
Step 1: Prepare Your Materials
Start by gathering all your materials. Choose seed beads in colors that resemble a daisy—white for the petals and yellow for the center. The crystal string should be thin yet strong enough to hold the beads securely.

Step 2: Create the Daisy Flower
Cut the Crystal String: Cut a piece of crystal string about 12 inches long. This gives you enough length to work with and tie off the ends securely.

String the Center Beads: four white seed beads and one yellow onto your string and slide them to the center.

Create the Petals: Pass the string back through the first white bead in your loop to secure the petals into what looks like a half daisy shape.


Form Your Daisy: Add two more white beads onto the string for the last two petals and feed the end of your crystal string through the last petal to form your daisy.


Repeat Process: Repeat the process two more times to form a total of three daisies for your earrings.

Step 4: Attach the Earring Hooks
-
Prepare the String: Once your daisies are complete, tie off the crystal string securely. Make sure the knot is tight to prevent the beads from slipping.
-
Attach the Hook: Use the excess string or a jump ring to attach the daisy to an earring hook. If you’re using a jump ring, open it with jewelry pliers, slide it through the knot, and then attach it to the earring hook. Close the jump ring securely.


Trim Excess String: Carefully trim any excess crystal string close to the knot for a neat finish.
Step 5: Repeat for the Second Earring
Repeat the entire process to create a matching earring.
Step 6: Show Off Your Daisy Earrings!
Your daisy earrings are now ready to wear! These cheerful, handmade accessories are perfect for adding a touch of floral elegance to any outfit. Plus, they make wonderful gifts for friends and family.
Tips for Success
- Choose Quality Beads: High-quality seed beads will give your earrings a polished look and ensure they last longer.
- Practice Patience: Working with small beads can be fiddly, so take your time and work in a well-lit area.
- Get Creative: Experiment with different color combinations to create unique floral designs.
Making DIY daisy earrings is a delightful way to express your creativity and fashion sense. With just a few materials and some simple steps, you can craft a beautiful pair of earrings that are sure to brighten anyone’s day.
Happy crafting!
@mandalacraftsinc Florals for spring… groundbreaking! 🌼 Shop everything you need to design your own daisy earrings using our vibrant seed beads, earring hooks, and premium quality 0.5mm crystal string at Mandala Crafts. 🌸🌿🥰 Click the link in bio to shop 🛒 #madewithmandala #mandalacraftsinc #diyearrings #j#jewelrymakingd#diyjewelryd#diycraftsc#craftmakingd#diycraftsuppliesd#diycraftys#simplediycraftsc#craftsdiydiycraftvideo ♬ original sound - Mandala Crafts Inc.