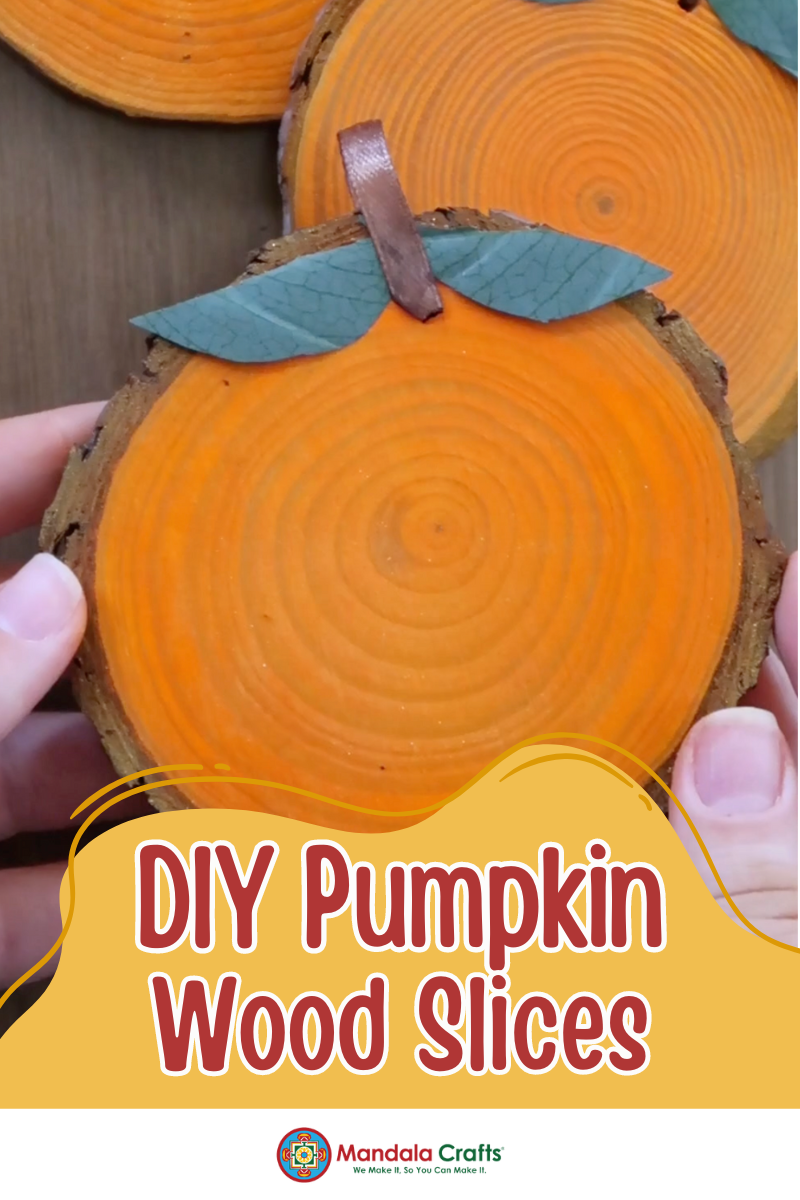
When the weather dips below 90°, it’s time to start thinking about fall decorations! 🍂🎃 If you’re ready to bring a touch of autumn into your home, these DIY pumpkin wood slices are the perfect project. Simple to make and delightfully charming, these wooden pumpkins are a fantastic way to welcome the season. Here’s how to make them!
What You’ll Need:
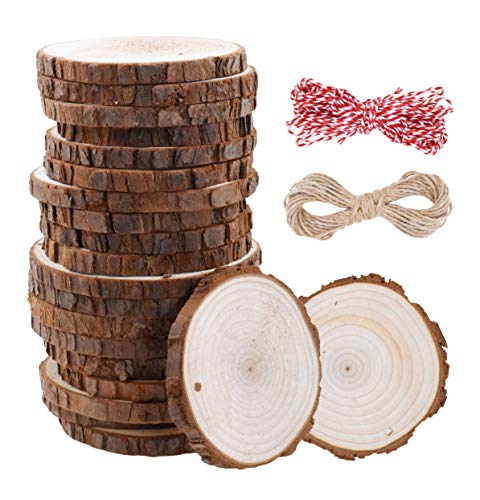
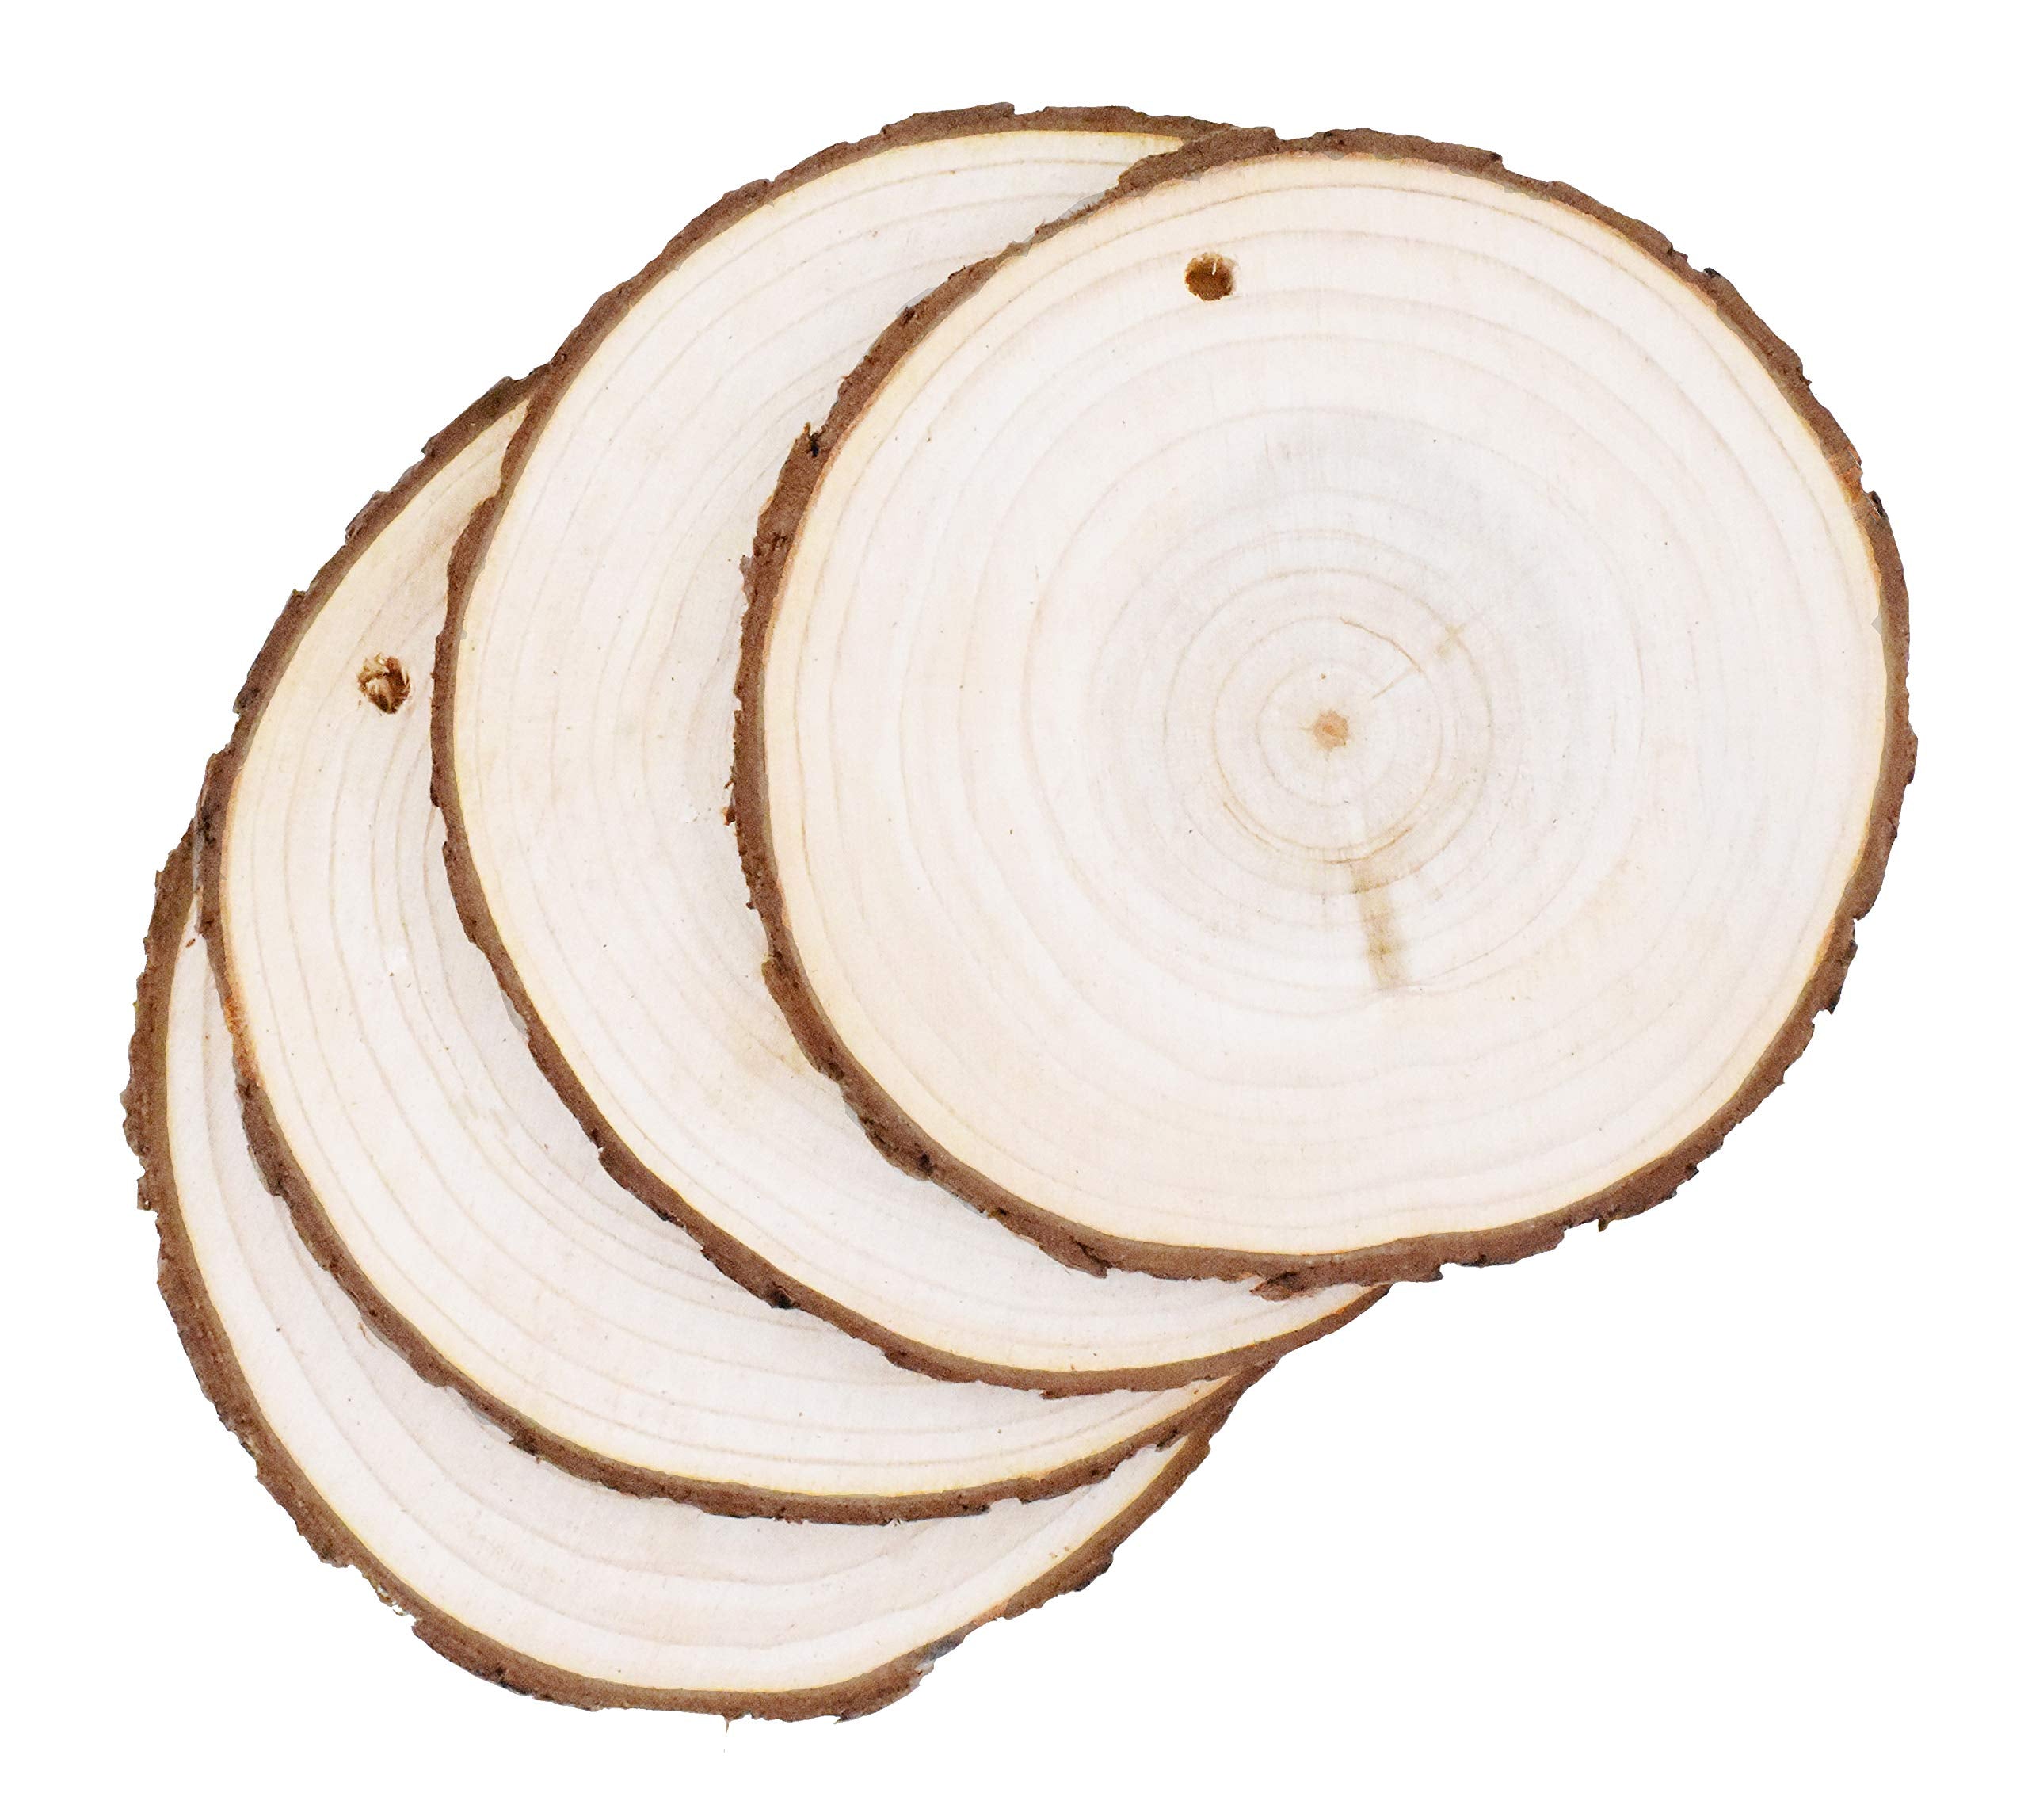
- Wood slices (with pre-drilled holes)
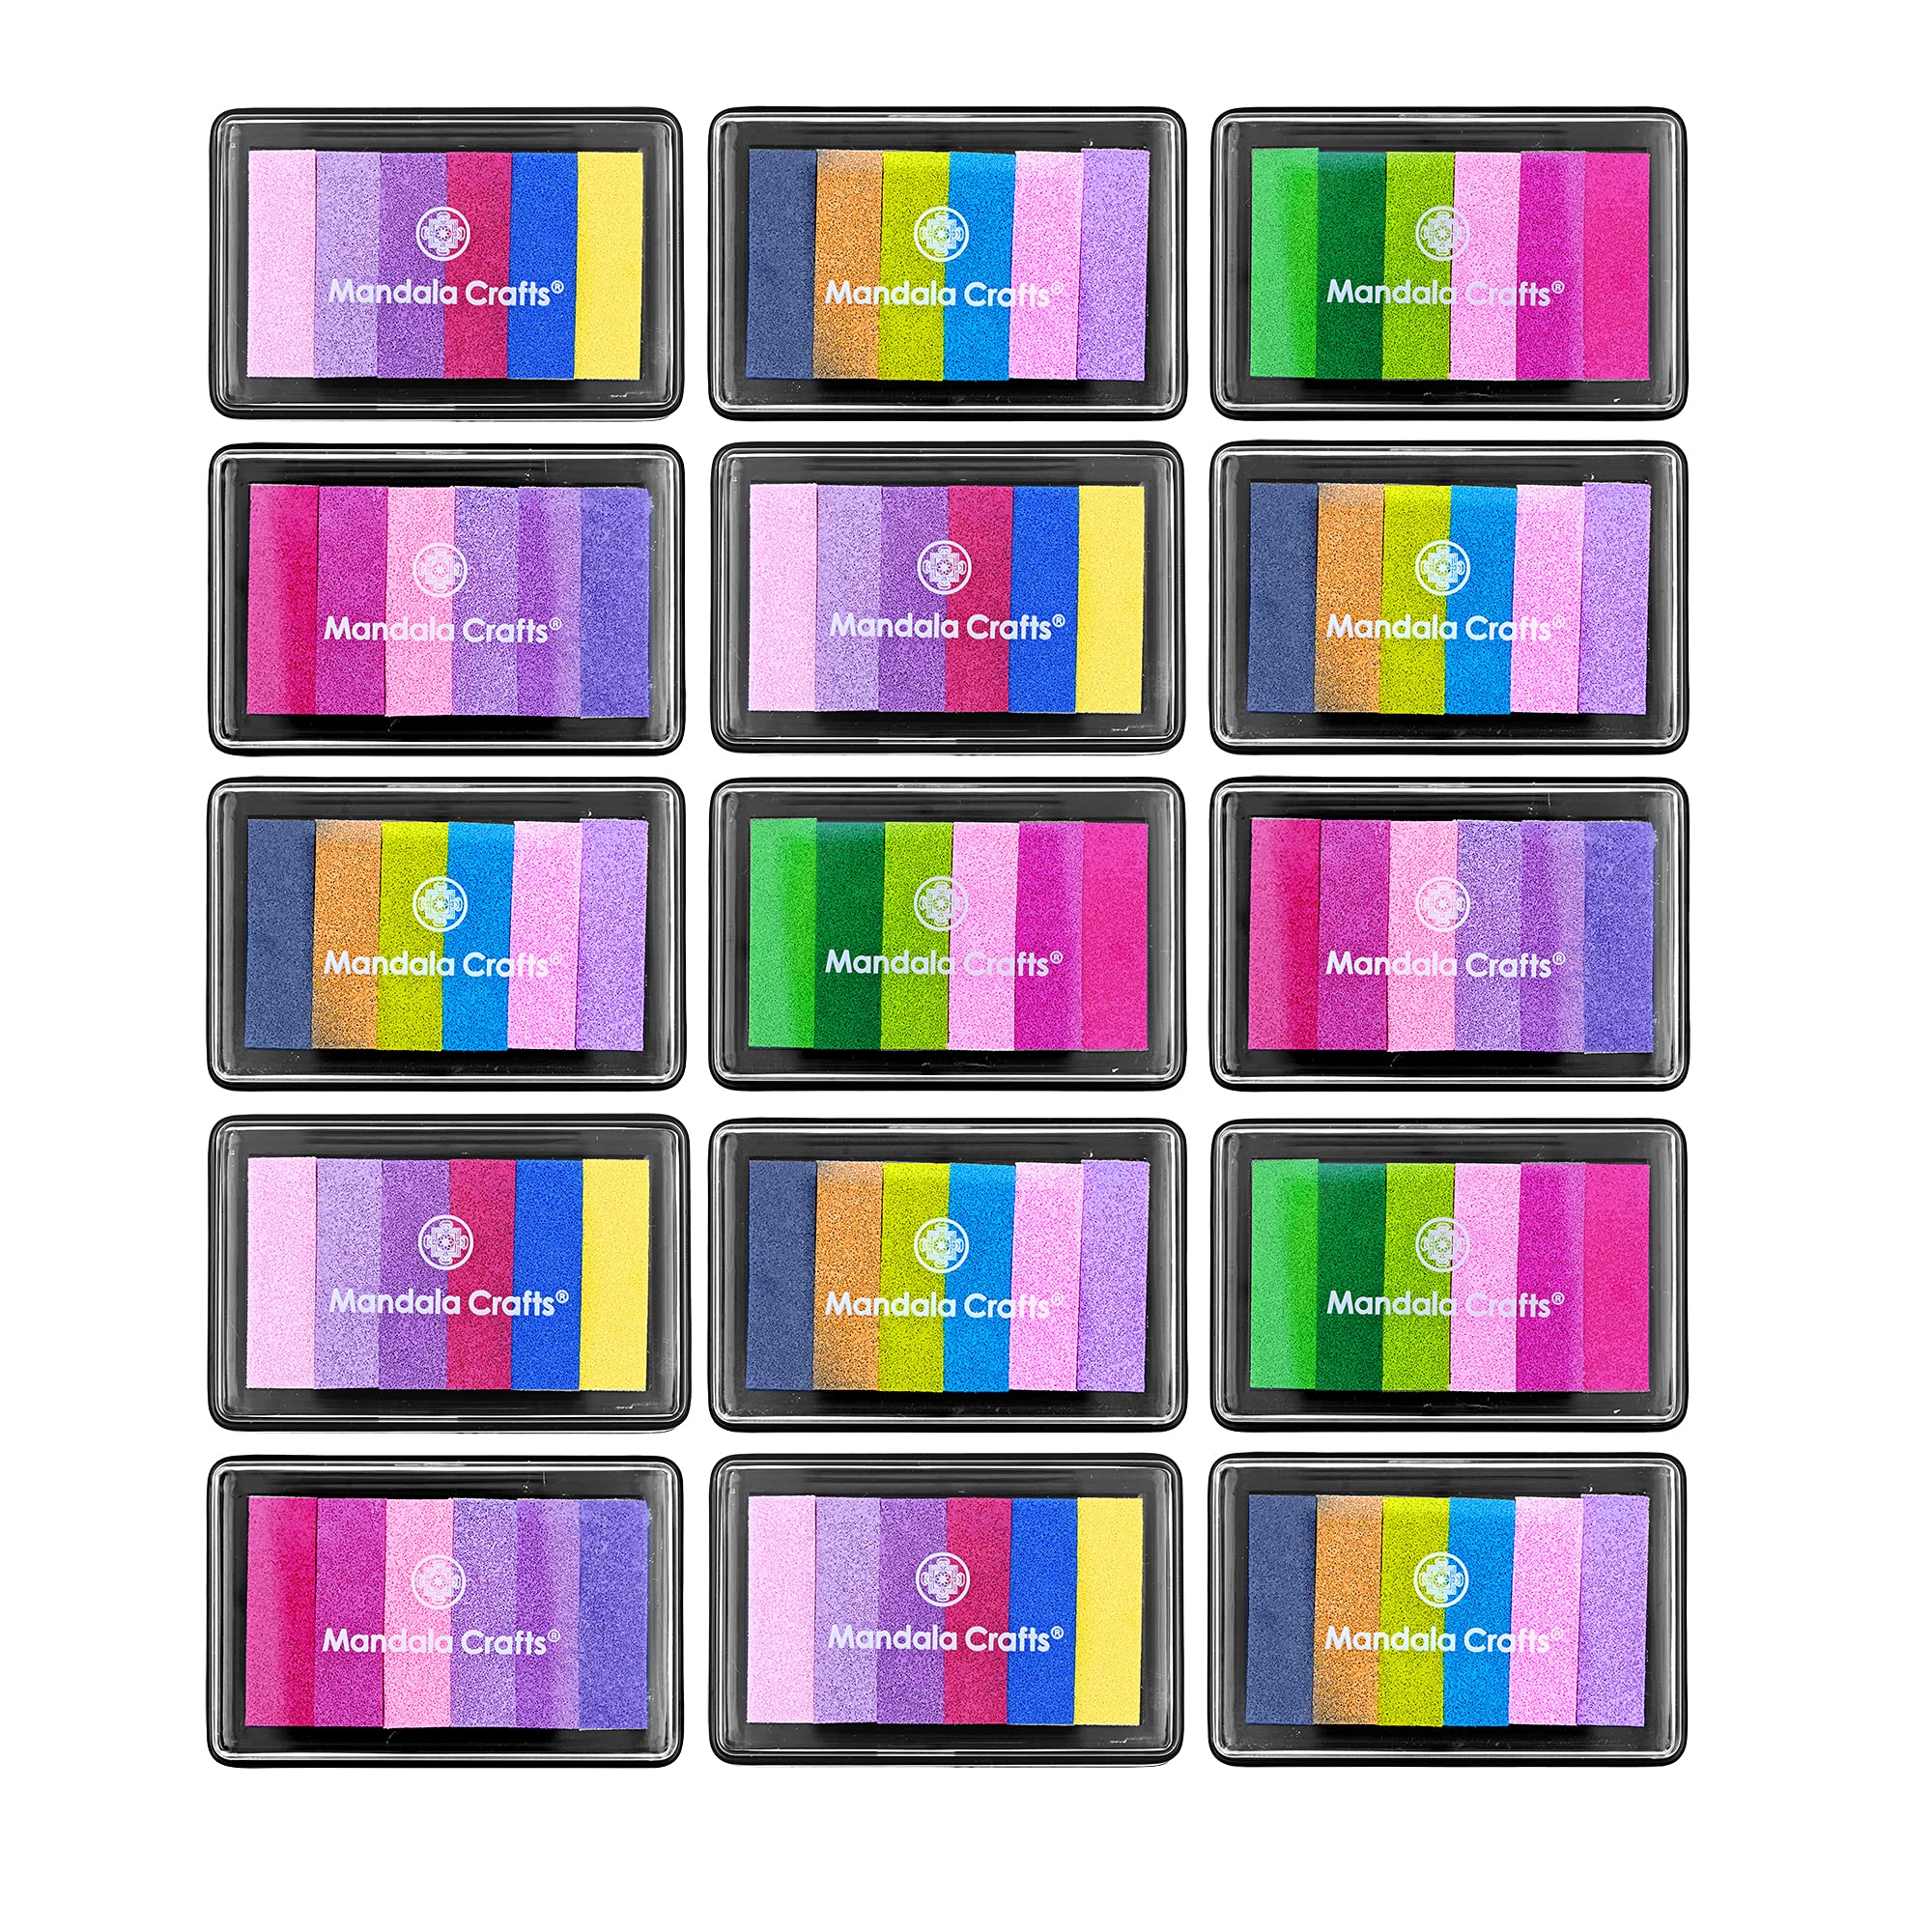
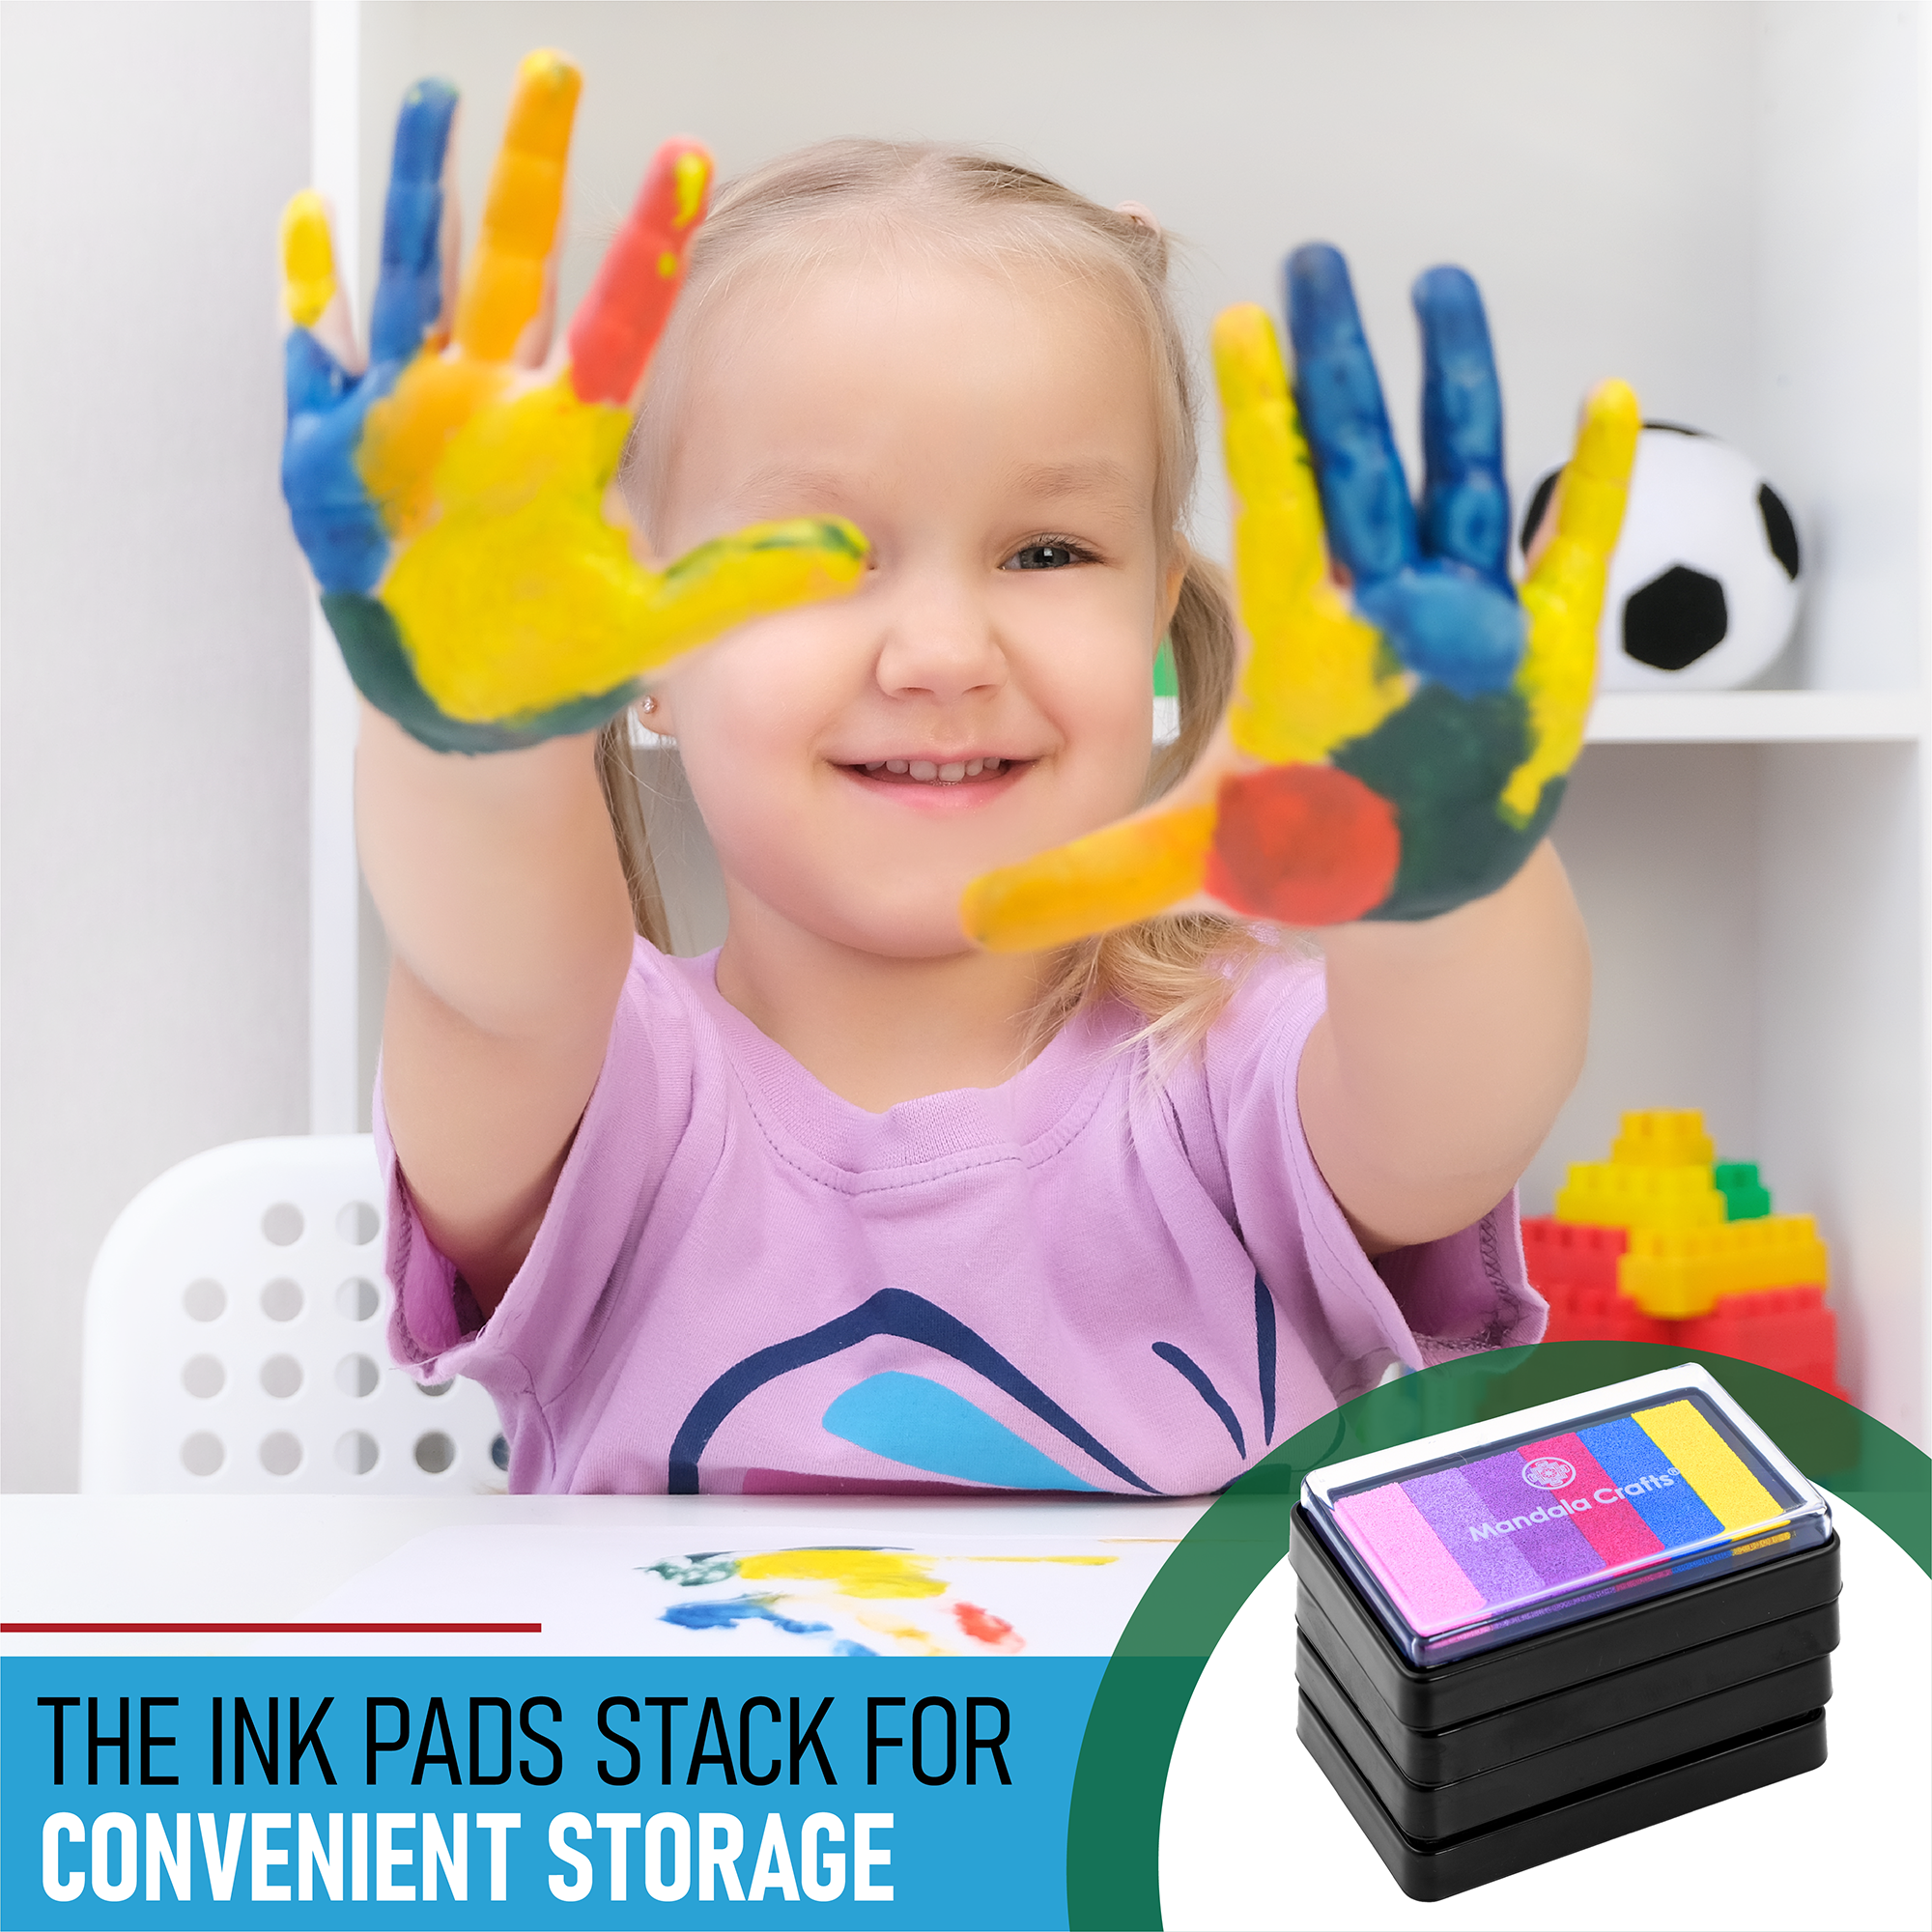
- Orange ink pad or paint
- Craft glue
- Brown satin ribbon (we recommend a 3/8 inch 10mm satin ribbon)
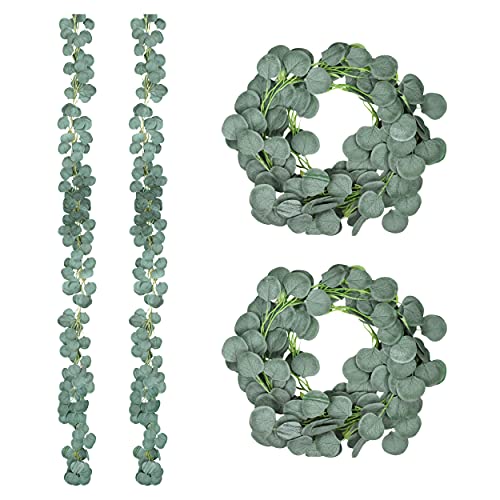
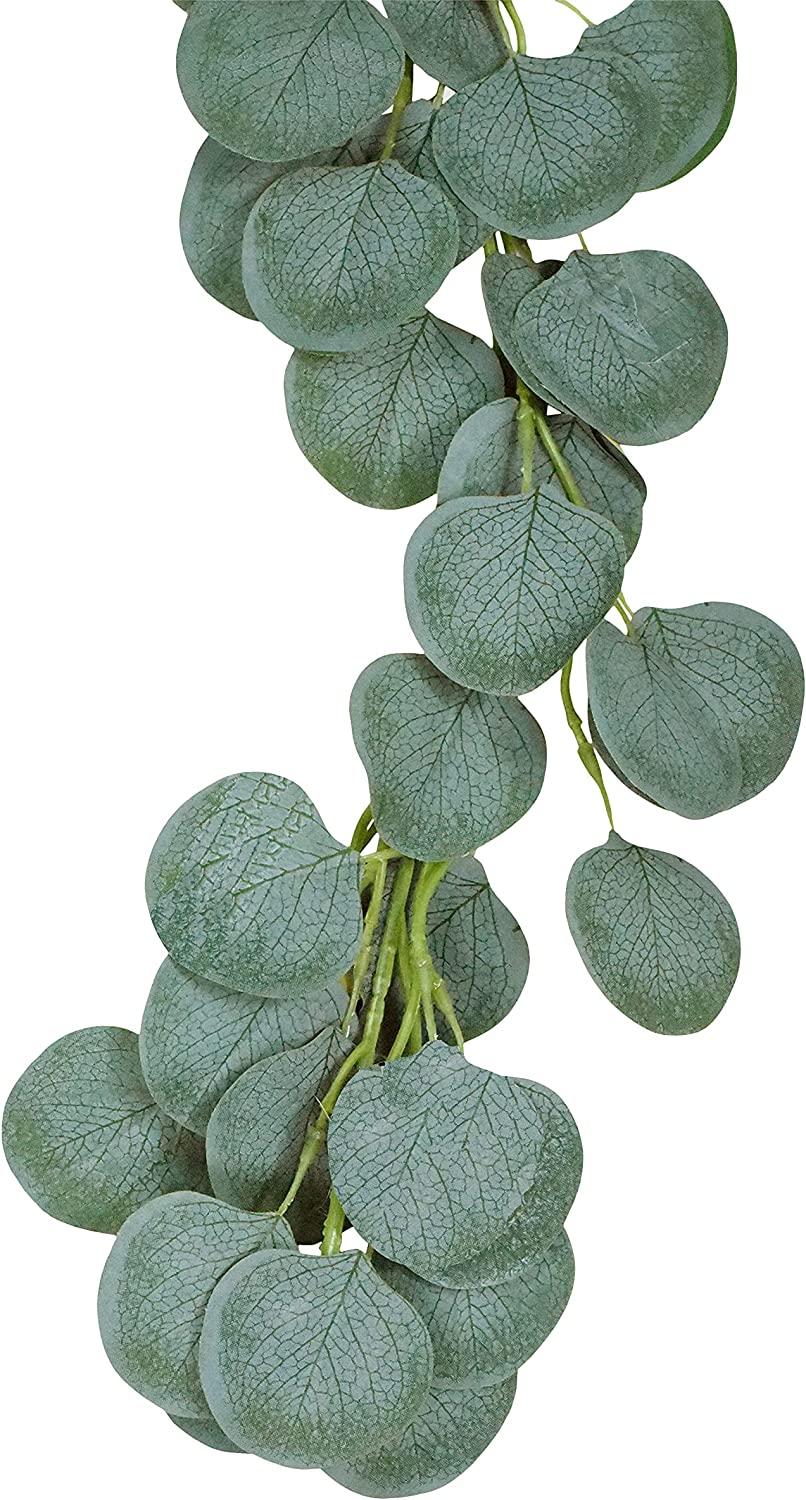
- Faux eucalyptus garland (optional, for creating leaves)
- Scissors (for trimming the ribbon and leaves)
Step 1: Prepare Your Wood Slices
Start by choosing your wood slices. The natural texture of the wood adds a rustic touch to the finished pumpkins. If your wood slices don’t have pre-drilled holes, you may want to add them yourself to make it easier to attach the ribbon stem later.

Step 2: Color the Pumpkin
-
Choose Your Color: Select an orange ink pad or paint to give your wood slice the look of a pumpkin. We love using ink pads for a soft, even color, but paint works just as well for a bolder look.

-
Fill in the Wood Slice: Use a sponge or brush to apply the ink or paint to the entire surface of the wood slice. Make sure you cover it evenly so that it resembles an orange pumpkin. Allow it to dry completely before moving on to the next step.


Step 3: Create the Pumpkin Stem
-
Prepare the Ribbon: Take a piece of brown satin ribbon, such as our 3/8 inch 10mm satin ribbon, which is perfect for this project.

-
Attach the Ribbon: Loop the ribbon through the pre-drilled holes at the top of your wood slice. Tie a knot or bow to secure it in place, creating the pumpkin’s stem. This ribbon not only adds a pop of color but also serves as a hanging loop if you want to display your pumpkin on a wall or door.


Step 4: Add the Leaves (Optional)
-
Trim the Faux Leaves: If you want to add a bit of greenery to your pumpkin, take some faux eucalyptus garland and trim it to fit your wood slice.

-
Attach the Leaves: Using craft glue, attach the leaves near the stem of your pumpkin. Hold them in place until the glue sets. The leaves add a natural touch and make your pumpkin look even more realistic!


Step 5: Display Your Pumpkin Decor
Once everything is dry and securely attached, your DIY pumpkin wood slice is ready to display! Hang it on your door, prop it on a shelf, or even use it as part of a fall-themed centerpiece.

Tips for Success
- Be Creative: Experiment with different shades of orange or add a touch of glitter for a sparkling pumpkin.
- Layer the Leaves: If you’re using faux eucalyptus or other leaves, try layering them for a fuller, more textured look.
- Personalize It: Consider adding your initials or a fall-themed message with a paint pen to make your pumpkin truly unique.
These DIY pumpkin wood slices are a fun and easy way to celebrate the fall season. They’re perfect for adding a warm, cozy touch to your home decor, and they make great gifts too! So grab your supplies and get crafting—fall is just around the corner!
@mandalacraftsinc When the weather dips below 90° 🎃🍂 Anyone else ready for fall? Transform simple wood slices into charming pumpkin decor! From ink pads to satin ribbon, we've got you covered! ☺️ Shop everything you need for this autumn DIY by clicking the link in in our bio! 🛒📲 #pumpkindecor #pumpkincrafts #fallcrafts #fallcraft #fallseason #falldecor #falldiydecor #diydecor #fallaesthetic #kidscrafts #craftsforkids #craftingtutorials #diycraftideas #craftideas #craftymoms #authumnvibes #autumnaesthetic #madewithmandala #mandalacraftsinc ♬ XXL - LANY