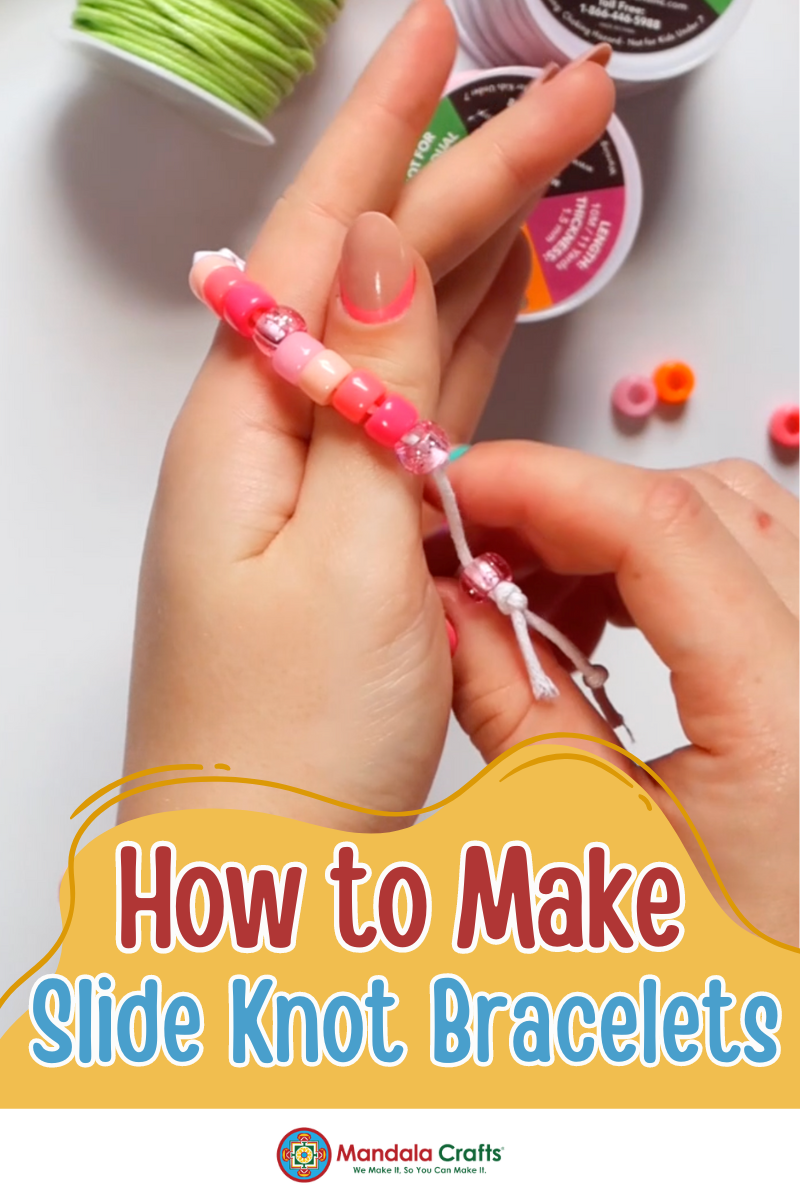
Looking for a fun and engaging craft project that kids will enjoy? Making a slide knot bracelet with pony beads, letter beads, and waxed cord is a fantastic activity that combines creativity with a bit of hands-on skill. This project is perfect for kids who love jewelry-making and want to create something unique they can wear and show off. Let’s dive into how you can make these stylish and personalized bracelets!
How to Make a Slide Knot Bracelet
What You’ll Need:
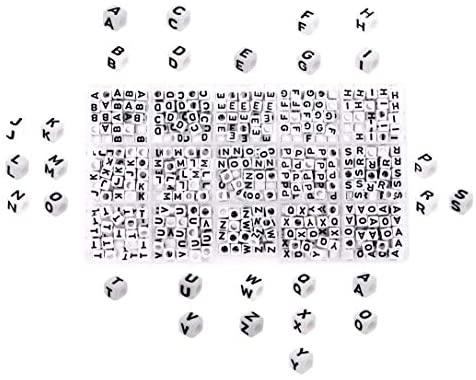
- Pony beads (variety of colors and shapes)
- Letter beads (to add names or messages)
- Waxed cord (choose a color that complements your beads)
- Scissors
- Ruler (optional, for measuring)
Step 1: Prepare Your Materials
Start by gathering all your materials. Decide on a color scheme or theme for your bracelet and choose beads accordingly. Cut a length of waxed cord—about 18 inches should be sufficient for most kids’ wrists.

Step 2: String the Beads
-
Design Your Bracelet: Lay out your beads to plan your design. You can use letter beads to spell out names or messages and add pony beads to create patterns or color sequences.
-
String the Beads: Thread the beads onto the waxed cord in the order you’ve planned. For a more secure and neat finish, tie a knot at the end of the cord before adding the beads, so they don’t slide off.


Step 3: Tie the Slide Knot
-
Position the Beads: Once all your beads are on the cord, arrange them in the center of the cord. Leave some extra cord on each end for tying.
-
Create the Knots: To make a slide knot, you’ll need to create two knots on each side of your bead pattern. Here’s how:
- Form the Slider: Hold the two ends of the cord together and slide both ends through another pony bead. The waxed texture of the cord will keep your slider in place.
- Tie the Final Knots: Tie either end of the cord with a single knot leaving an inch or two of cord at the ends.


Step 4: Trim and Finish
-
Trim Excess Cord: Once you’re happy with the fit, trim any excess waxed cord close to the knots. Be careful not to cut too close, as you don’t want the knots to unravel.
-
Secure the Knots: For added security, you can apply a small dab of glue to the knots, ensuring they stay in place.


Step 5: Show Off Your Creation!
Your slide knot bracelet is now ready to wear! These bracelets are not only stylish but also customizable, making them perfect for gifts or personal use. Encourage kids to experiment with different bead combinations and color schemes to create unique designs.
Making slide knot bracelets is a fantastic way for kids to explore their creativity and make something they can wear and enjoy. Plus, it’s a great way to spend time together and create lasting memories.
Happy crafting!
@mandalacraftsinc The easiest slide knot bracelet tutorial 🙌🏼 this is the perfect craft to do with your kids. It only requires 3 items! Waxed cord, beads, and scissors! #jewelrymaking #slideknot #jewelrydiy #kidscrafts #kidsjewelry #ponybeadsbracelet #ponybeads #diycraft #craftsupplies #crafts #jewelrydiy #diyjewelry #craftsforkids ♬ Hey It's Me - Official Sound Studio