Snap buttons are a fantastic addition to clothing, bags, and accessories. They’re easy to use, provide a secure closure, and add a polished look to any project. Whether you’re replacing a broken button or adding a new one, attaching snap buttons is simple and can be done in a few easy steps. Here’s how:
What You’ll Need:
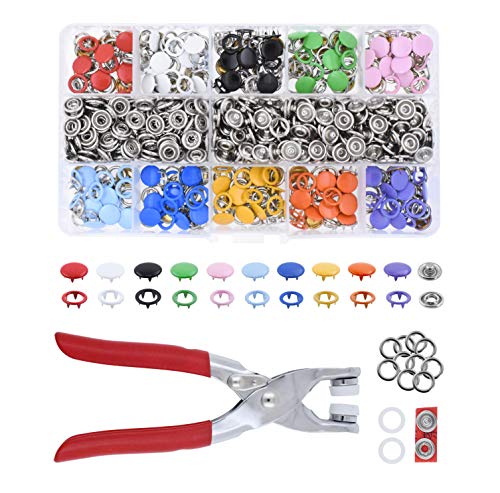
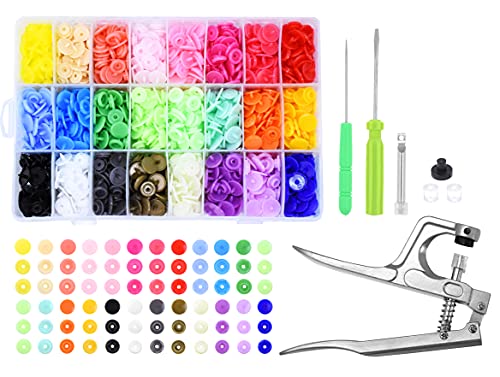
- Snap button set (includes a cap, socket, stud, and post)
- Snap button tool kit (includes a hammer, anvil, and setting tools)
- Fabric marking pen or chalk
- Scissors or awl
Step-by-Step Instructions:
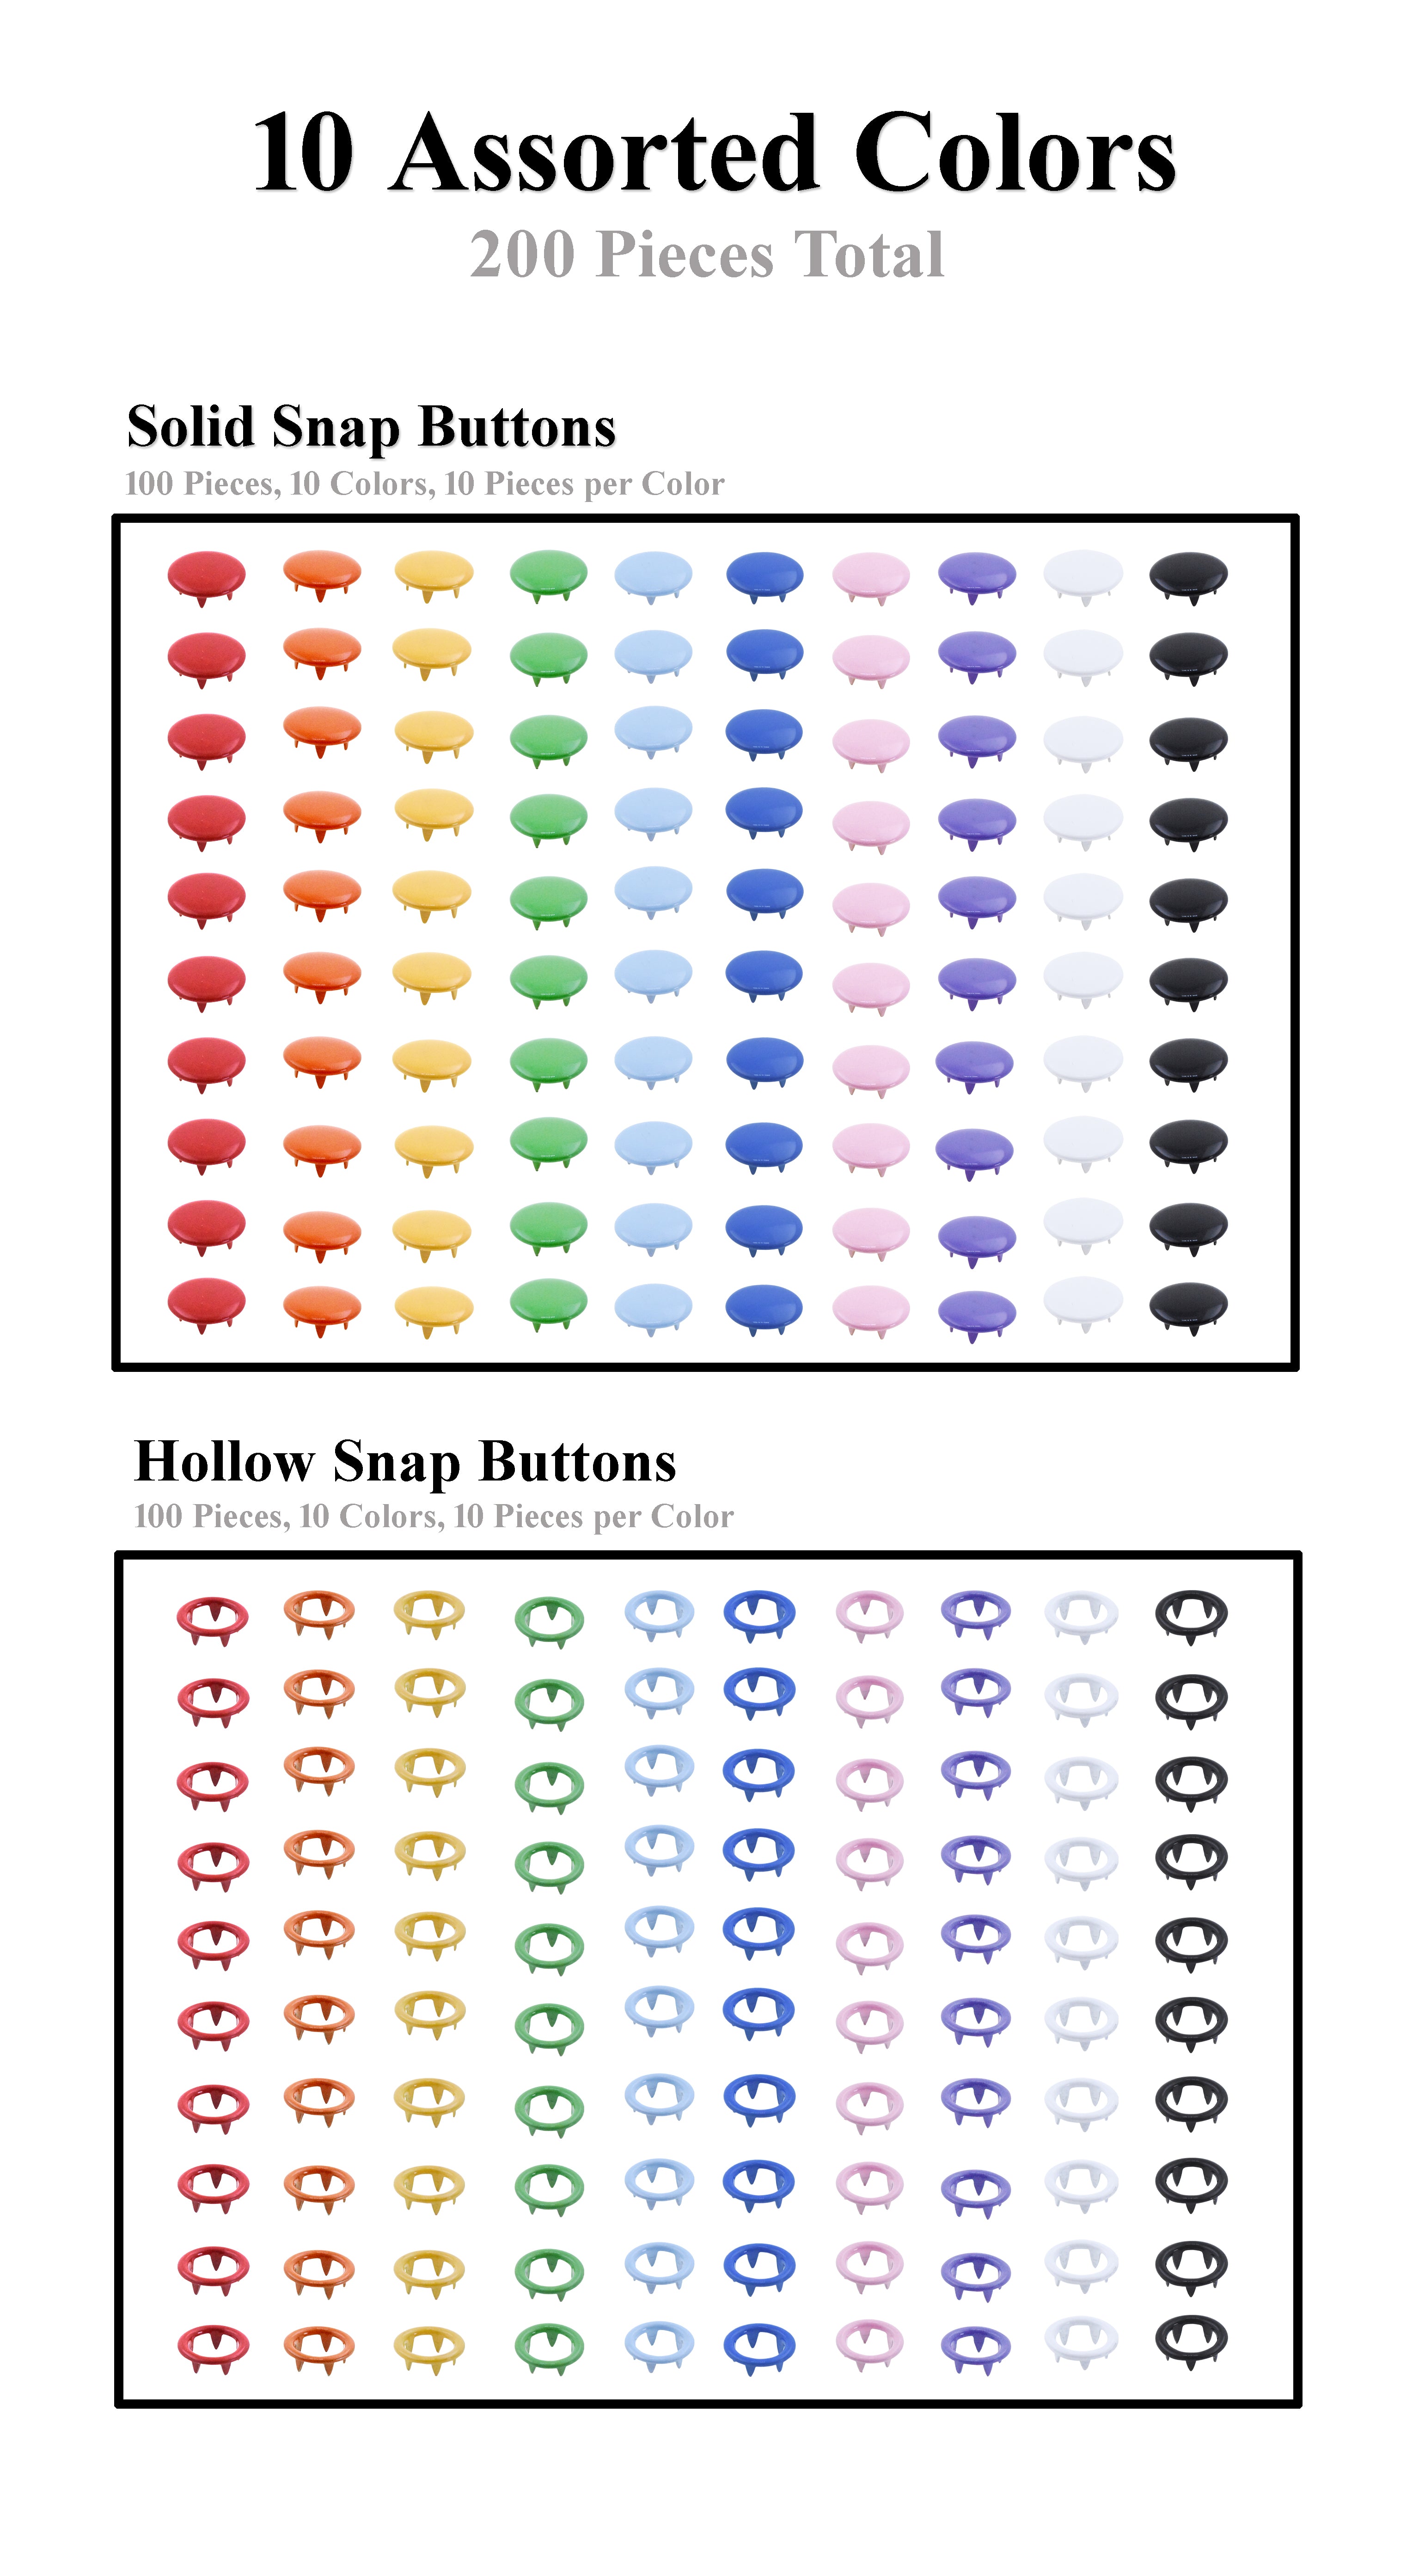
1. Choose Your Buttons: On the top left we have what is called a male button, and on the top right is the female button. The bottom row are the metal snap covers that actually show on the outside of the garment.


We recommend you to practice on a piece of scrap fabric a few times before trying to attach these buttons to your final project so you can get the hang of it!
2. Prepare Your Pliers: The first thing you're going to do is take your pliers and put the male button with the small side facing up on one side.

Then you'll flip your pliers over and place the snap button cover on the other side.


3. Attach the Snap Button: Slide your fabric between the pliers and firmly press down to attach your button. Repeat the same process with your female button on the other side and you're finished!

4. Test the Snap: Once both sides are in place, press them together to ensure they snap securely.


Attaching snap buttons is a quick way to add functionality and style to your projects. With these easy steps, you’ll have your snap buttons securely attached in no time!
Happy crafting! 🌟
@mandalacraftsinc Upgrade your sewing projects with our metal snap buttons! 💥🧵 Easy to install and durable, these buttons are perfect for clothing, bags, and more. Shop now at www.mandalacraftsinc.com #MandalaCraftsInc #madewithmandala #MetalSnapButtons #SewingSupplies #DIYProjects #snapbuttons #snapbutton #sewing #sewingtik #sewingtutorial #sewingtips #crafttutorial #crafttipsandtricks #diycrafts #diyproject #diycraftideas #diycrafting ♬ original sound - Mandala Crafts Inc.

